
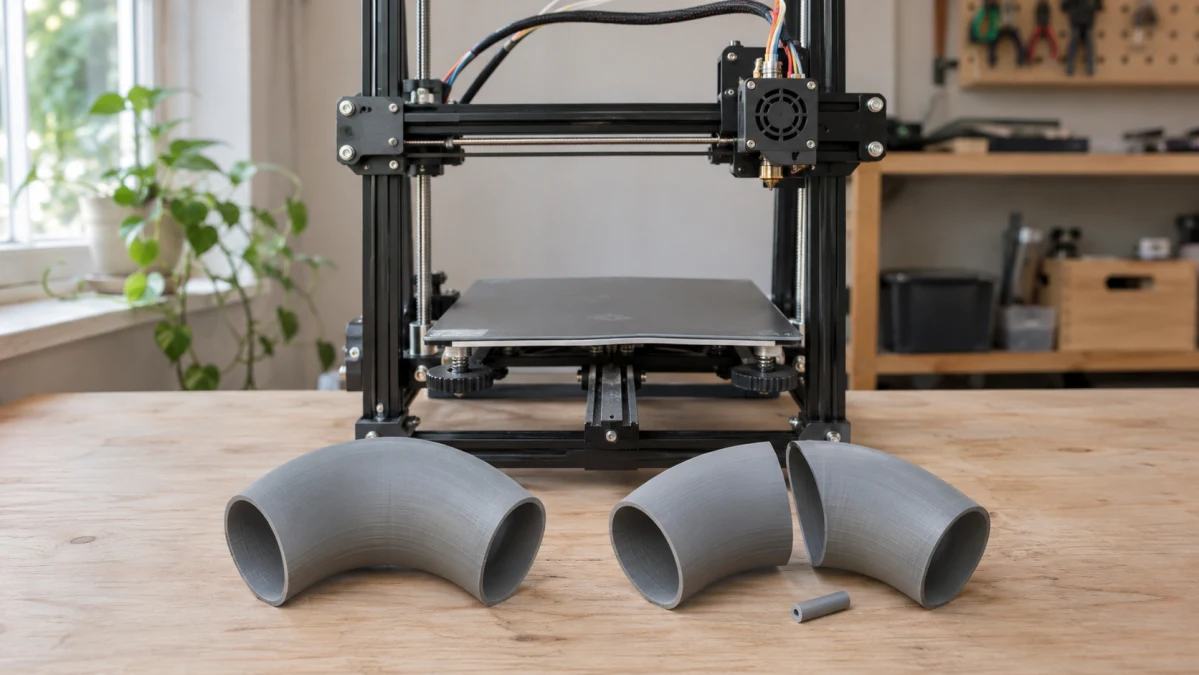
A larger 3D printer can save you from cutting a model into sections, lining up the pieces, and sanding away a seam. It can also give you room to print a part in a more useful orientation or fit several parts into one job. Those conveniences can matter even when a smaller printer could technically produce the finished object.
The decision is how often you will use that extra room—and how much space you can give the machine. The LONGER LK10 and LK10 Plus illustrate the tradeoff: one offers a 225 mm square printing area; the other expands that to 320 mm square and adds considerably more height.
What the extra build volume actually buys
LONGER specifies these build dimensions for the LK10 and LK10 Plus:
| Printer | Advertised print width × depth | Advertised print height |
|---|---|---|
| LONGER LK10 | 225 × 225 mm, about 8.9 × 8.9 inches | 265 mm, about 10.4 inches |
| LONGER LK10 Plus | 320 × 320 mm, about 12.6 × 12.6 inches | 400 mm, about 15.7 inches |
The Plus adds 95 mm in each horizontal direction and 135 mm in height. That gives it roughly twice the nominal printing area—a meaningful difference for wide organizers, larger panels, or a batch of smaller components.
Width, depth, and height solve different problems. More height helps with a tall model, but it does not let a wide tray lie flat on a narrow bed. For a set of small parts, the useful question is how many fit in a workable arrangement, with space for any supports and adhesion features.
Use the manufacturer’s millimeter dimensions when checking a project. The inch measurements are rounded equivalents, so converting them back to hundredths of a millimeter adds no useful precision.
Try your actual models before choosing a size
Pick a few files you expect to print: a routine project, your largest planned part, and any set you would like to make together. Open them in a slicer—the software that turns a model into printing instructions.
LONGER’s setup manuals describe OrcaSlicer profiles for both printers, including how to add the supplied profiles if needed. With the profile for the exact model selected:
- Keep the intended dimensions. Shrinking a decorative model may be acceptable; shrinking a replacement part changes whether it fits.
- Choose a useful orientation. Consider which faces will be visible and how the finished part will be loaded.
- Generate the supports and adhesion features you need. Include any brim, raft, or other structures in the space calculation.
- Inspect the sliced preview. Check the full footprint and height, including any restricted areas in the printer profile. A successful slice checks the planned layout; it does not guarantee a successful print.
Rotation can change the answer. A hypothetical 250 × 200 × 100 mm model exceeds the LK10’s width in that orientation. Turn it onto another face and its dimensions become 200 × 100 × 250 mm, which fall within the nominal build volume before supports or other additions.
Whether that is a good way to print it depends on the shape. As Prusa’s design guidance explains, orientation affects support requirements, surface finish, and directional strength. A model that fits upright may be less convenient to print that way.
Also watch the space around the first layer. A 220 × 220 mm base with a 5 mm outer brim on every side needs 230 × 230 mm, assuming no gap between the brim and the part. That exceeds the LK10’s nominal printing area. A brim adds a thin border around the first layer to help adhesion; its width belongs in your fit check.
Turning a long, narrow part diagonally may help. A broad rectangular part is less forgiving because rotating it changes both its width and depth. Check the resulting layout in the slicer instead of comparing its longest edge with the bed’s diagonal.
When the LK10’s size is enough
The High-Speed 3D Printer is worth considering when your regular projects fit comfortably within its 225 × 225 × 265 mm build volume, including their supports. An occasional larger project can still be practical if it divides into sections you are willing to assemble.
Think about the work you expect to repeat. If your usual brackets, small housings, and organizers already fit, extra capacity may spend most of its time unused. If every organizer needs a joint down the middle, the larger machine could save work on every revision.
Setup features should be compared separately from size. LONGER says both the LK10 and LK10 Plus have automatic bed leveling and automatic Z-offset detection; the words “Auto Leveling” in the Plus listing do not make that an exclusive advantage. You should still inspect the first layer, as LONGER’s operating instructions advise.
When the LK10 Plus can save work
The High-Speed 3D Printer with Auto Leveling gives you a nominal 320 × 320 × 400 mm build volume. Its strongest case is a project that benefits from staying whole or lying in an orientation that the LK10 cannot accommodate.
A wide panel with a visible face may be worth printing without an assembly seam. A larger housing may fit in its intended orientation, avoiding the support cleanup that a sideways layout would require. These are reasons to consider the Plus even if cutting the model into pieces remains possible.
The larger printing area may also let you finish a set in fewer jobs. Arrange the actual parts in the slicer to see whether that helps: their shapes, spacing, and support needs determine the result. Fewer plate changes can save your time without necessarily reducing the printer’s total running time.
Avoid choosing capacity around a vague promise to make bigger things someday. A specific model—or a recurring task that currently involves tedious assembly—makes the benefit much easier to judge.
Splitting a model can be a good choice
Splitting is useful when you can place a seam along an existing edge, hide it on an underside, or build the object from deliberately separate components. It can also let each section print in a better orientation with fewer supports.
PrusaSlicer’s Cut tool can divide a model and add connectors such as plugs or dowel pins to help with assembly. That makes alignment easier to plan, but it still leaves the practical work of fitting, joining, and finishing the pieces.
For a display object, decide whether you are willing to fill and sand the seam. For a functional part, consider the joint’s position and the forces it will encounter. A continuous print is not automatically stronger in every situation, and a glued joint is not automatically equivalent to uninterrupted material.
Print a small section of the proposed joint before committing to the whole project. Prusa notes that mating-part tolerances depend on geometry, orientation, calibration, settings, and material. A short trial can reveal a connector that is too tight or too loose. Recheck the size of every resulting piece, including any protruding connectors.
Materials and print time still matter
A large outdoor housing presents a different challenge from a decorative indoor model. For example, Prusa’s ASA guidance describes substantial warping and calls for an enclosure when printing large parts. If ASA is central to your plans, check enclosure suitability and ventilation requirements before buying either machine. A filament appearing on a compatibility list does not settle those installation needs.
Likewise, LONGER lists a maximum speed of 500 mm/s for both models. That figure does not tell you how long your project will take. Actual extrusion speed is constrained by material flow, cooling, and the settings for different parts of the print.
Compare slicer estimates using suitable profiles and equivalent quality settings. For a split model, add your assembly and finishing time to the printing time. Those estimates provide a more useful comparison than the maximum-speed headline.
Make room for the whole machine
The printing area is much smaller than the space the printer occupies. LONGER’s manuals list machine dimensions of 423 × 437 × 492 mm for the LK10 and 573 × 551 × 625 mm for the LK10 Plus.
Those are approximately 16.7 × 17.2 × 19.4 inches and 22.6 × 21.7 × 24.6 inches, respectively. The Plus therefore requires a noticeably larger place to live.
Treat those measurements as a starting point for planning. Allow space for bed movement, cables, the filament spool, and access to remove prints or perform maintenance. Include any planned enclosure in the measurement.
The LK10 makes sense when your routine projects fit and occasional assembly is an acceptable part of the hobby. The LK10 Plus becomes more compelling when its extra room repeatedly saves you cutting, support removal, or plate changes. Compare the actual price difference with those benefits—and make sure the larger machine fits the place where you intend to use it.