
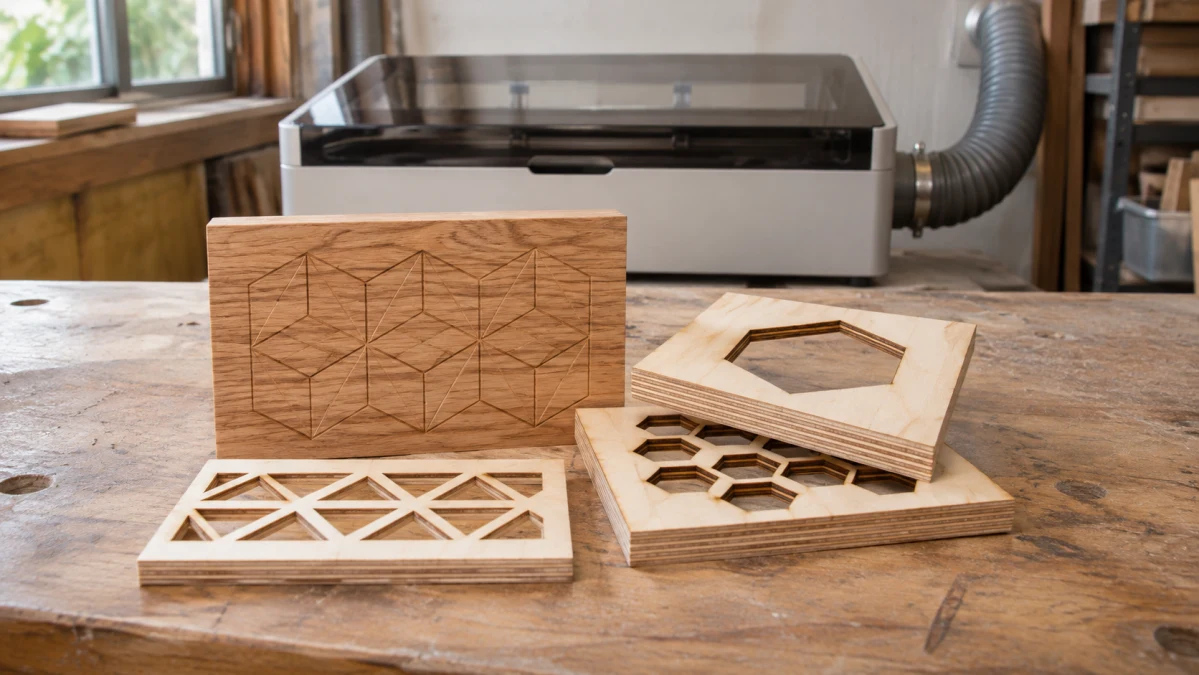
Engraving a name on a wooden coaster and cutting a batch of plywood ornaments ask very different things of a laser. A 5W blue diode machine can be a sensible starting point for surface engraving and occasional thin wood cuts. If cutting parts will be a regular job, the additional optical power of a 12W or 22W machine becomes more useful.
Power is only part of the purchase, though. A larger working area may matter more for signs; an enclosure and camera may matter more for positioning designs on finished gifts. Choose around the projects you expect to make and the equipment you need to run them.
What more laser power actually buys you
Compare optical output, the power of the laser light, with optical output. A machine's electrical consumption or its power adapter rating measures something different. Look for an explicit laser-output specification in the manufacturer's documentation.
With suitable settings, more optical power can let a laser cut faster or make fewer passes. It can also help with deeper engraving. The improvement depends on the material, beam characteristics and motion system, so a jump from 5W to 22W does not translate into a predictable multiplier for job speed.
For shallow engraving, the goal is controlled contrast and detail. Power and travel speed work together: too little energy leaves a faint mark; too much can char the surface and widen fine features. LightBurn's explanation of speed and power shows why the right settings matter at every wattage. A more powerful machine can still engrave delicately when adjusted appropriately.
When a 5W laser makes sense
Names, line drawings and small decorative designs on wooden blanks are a reasonable place to start with a 5W machine. If most projects are individual gifts, a longer processing time may be an acceptable trade-off. Large filled designs and deep relief work deserve closer attention to runtime, even if you never cut anything out.
The 5W Laser Engraver offers a 400 × 400mm working area, about 15.7 inches square. That gives you room for a sign or several smaller blanks in one layout. LONGER specifies 5–5.5W optical output for its 5W module, so the model name and the manufacturer's 5.5W figure refer to the same general power class.
Its 3.5-inch touchscreen and offline operation let you run prepared jobs without keeping a computer connected throughout the process. You still need to prepare the artwork and settings, and you must remain present while the laser operates.
The bigger purchasing issue is the open frame. Plan for an enclosure designed to contain laser radiation, smoke extraction and a suitable cutting surface. LONGER's RAY5 FAQ says the 5W model needs a separately added air pump; some bundles include accessories, so check the package you are actually buying. Compare that equipped price with an enclosed machine.
Occasional cutting can still make sense here. Look for a demonstration on the same kind and thickness of wood you intend to use, and decide whether its speed and edges are acceptable. Buying blanks already cut to shape is another practical option if personalization is the part you enjoy.
When a 12W or 22W machine deserves the extra budget
If your projects begin with sheets of plywood, cutting time becomes a bigger part of ownership. Extra optical power is worth considering when it reduces the time spent making each batch, or lets you process your chosen material with fewer passes and acceptable edges.
An enclosure, air assist and easier positioning can also justify spending more, including for someone who mainly engraves.
The Enclosed Laser Engraver combines a diode laser with an enclosed body and a positioning camera. SCULPFUN lists air assist, a honeycomb panel and an exhaust hose in the standard E1 package. Confirm those items in the seller's bundle when comparing prices.
The working area is 400 × 320mm, about 15.7 × 12.6 inches. That is smaller than the RAY5's square field: a 14-inch-square design fits within the RAY5's nominal working area but exceeds the E1's. Check your largest planned layout before choosing the more powerful machine.
The camera helps you align artwork with a blank, but there is still setup involved. SCULPFUN's E1 instructions specify camera calibration and manual focusing. They also distinguish object clearance from cutting capacity: the machine accommodates material up to 42mm high without the honeycomb, or 30mm with it installed. Those figures describe what fits inside.
SCULPFUN's advertised 600mm/s maximum speed is not a plywood-cutting speed. It cannot tell you how long an ornament or sign will take to finish. Look for elapsed time on a comparable project.
For wood, distinguish the E1 12W from the E1 Dual 12W + 3W IR. The Dual adds a separate infrared module for materials such as metal; it does not combine the two sources into a 15W beam for cutting wood. The modules are exchanged, and the 12W diode remains the option for wood. Paying for infrared makes sense if those additional materials are part of your plans.
A machine rated at 22W optical output is a separate purchase decision. It offers more laser power than a 12W machine, but compare its own working area, accessories and cutting demonstrations. Consider that step up when regular cutting is central to your projects and the demonstrated time savings justify the total cost.
Judge cutting by the finished part and the clock
“One pass” sounds impressive until you know how slowly that pass runs. Equally, multiple passes are not automatically a poor result: the combination of speed, power and passes affects both completion time and scorching.
Wood adds another variable. A demonstration on thin basswood does not establish performance on birch plywood of the same thickness. Grain, density and plywood adhesive affect processing; Trotec's wood guide specifically highlights the importance of glue and recommends plywood made for laser processing.
A useful review or seller demonstration should answer a few concrete questions:
- What was cut? Identify the wood or plywood and its thickness.
- How was it cut? Note the exact laser version, air assist, speed and number of passes.
- What came off the bed? Look at both faces and the edges, including small holes and inside corners. Check that the pieces separate cleanly.
- How long did it take? Prefer the complete job time, and allow for any sanding or cleanup the result needs.
For repeated work, look for a whole sheet or batch being completed rather than a single successful cut. A small difference in cleanup time can matter when you repeat it across dozens of pieces.
For engraving, judge a sample close to your intended design: small lettering for labels, fine lines for illustrations, or visible tonal detail for photographs. A nominal laser-spot measurement alone cannot show how those features will look on wood.
Once you have a machine, test settings on a scrap from the same stock before committing a finished piece. LightBurn's Material Test tool can generate a grid of settings. Check the speed units when following examples: millimeters per second and millimeters per minute differ by a factor of 60.
Budget for the workspace as well as the machine
Air assist and exhaust do different jobs. Air assist blows at the cutting point to help clear debris and smoke; exhaust removes contaminated air from the working enclosure. A honeycomb supports the material and gives smoke room to escape underneath. xTool's wood-processing guidance explains how these affect scorching and cut quality.
An exhaust hose still needs a suitable destination. Before ordering, establish how you will vent fumes outdoors or use a filtration system specified for the machine and materials. Include space for the enclosure, ducting, pump and opening the lid as well as the advertised engraving area.
SCULPFUN describes the E1 as a Class 1 system with a lid interlock and emergency stop. Class 1 concerns accessible laser radiation during normal use; smoke and fire still need attention. Keep the enclosure and interlocks intact, use appropriate eye protection as directed by the machine's instructions, and never leave a running laser unattended. MIT's laser-cutter safety guidance also calls for suitable ventilation, a clean cutting bed and known, compatible materials. Avoid unidentified coatings and PVC-containing materials.
Finally, check the control software on your computer and include any required license in the purchase budget. A touchscreen or Wi-Fi connection does not remove the need to prepare designs and choose processing settings.
For occasional engraving, the RAY5's larger working area can be useful if you are prepared to build out the surrounding setup. The E1 makes a stronger case when its enclosure, camera and included accessories suit the way you work. For frequent cutting, let a representative project's completion time and edge quality decide whether 12W is enough or stepping up to 22W is worthwhile.